General installation instructions
Arrange baffles in an even, balanced pattern above the area to be treated.
- SONEX One Baffles are manufactured with integrated straps and grommets for easy installation on ceiling-mounted cables or chains.
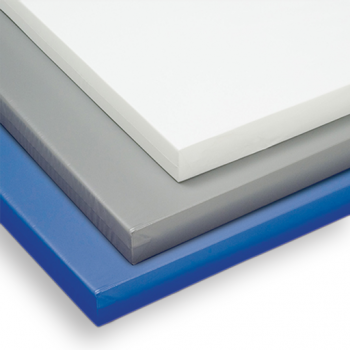
- SONEX Valueline and WHISPERWAVE Baffles feature corkscrew hangers that are installed in the field for either wall-to-wall cable installation or ceiling-mounted cable installation.
- Baffle distance from the ceiling has little effect on acoustic performance. Avoid hanging baffles more than 10 feet below the ceiling because long tethering will cause them to sway in air currents.
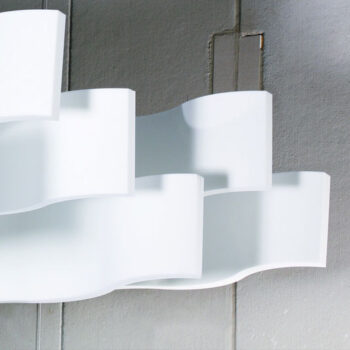
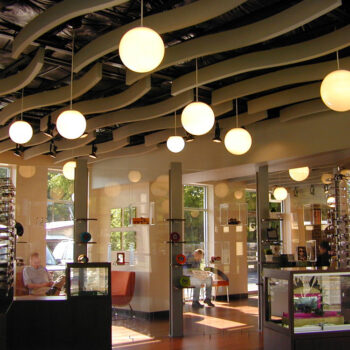
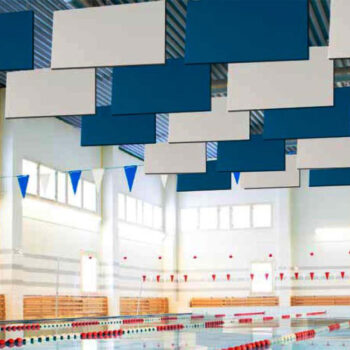
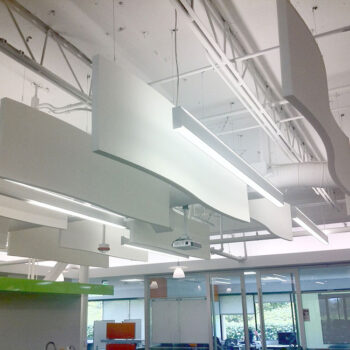
- Baffles can be hung horizontally or vertically, above or below the lights.
.
Wall-to-wall cable installation
For large jobs over open areas where scaffolding would be cumbersome, it is best to arrange SONEX Valueline or WHISPERWAVE Baffles parallel to each other. Optional spacers from pinta help place baffles evenly across cable span.
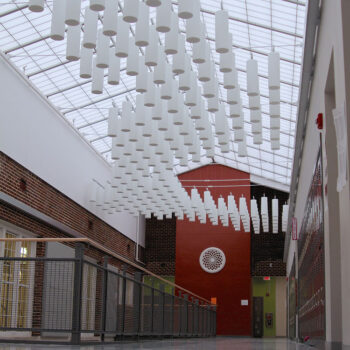
Ceiling-mounted cable installation
This method can be used with either SONEX Valueline, SONEX One or WHISPERWAVE Baffles. The baffles can be aligned in the same direction or arranged so that every other baffle is turned 90 degrees. Tests have shown that baffles arranged in an alternating pattern perform slightly better than baffles hung in the same direction.
Installing Corkscrew Hanger in SONEX Valueline or WHISPERWAVE Baffle
- Mark a dot at least 3″ in from each edge of the baffle and centered on the width of the baffle. Optimal placement is between 4″ and 8″ when hung horizontally. (download the installation instructions below for graphics)
- Center the corkscrew hanger over the dot. Holding the hanger vertically, press down lightly and turn. Allow the downward pressure to pierce the foam; do not poke the hanger point into the foam. If necessary, spray hanger with dry lubricant.
- If the hanger pops out of the side of the baffle, start over at a different point. Do not try to restart in the same place.
- Turn the corkscrew hanger clockwise until it is completely seated and the top coil of the hanger is touching the edge of the baffle.
- If doing a large installation, prepare a stack of baffles to mark hanger placement at the same time. This will speed up the process and will give a uniform look.
NOTE: Turn the eye loop so it is parallel to the top of the baffle and the opening of the eye loops face in the same direction. This is very important for the wall-to-wall cable method.
Wall-to-wall cable installation
- Determine length of cable needed to suspend it across the room to hang baffles. (download the installation instructions below for graphics)
- Attach steel cable to one wall or I-beam with eyebolts and turnbuckles.
- Attach the other end of the cable to the opposite wall or beam and tighten.
- Slip the eye loops over the cable. Turn the eye loops approx. 1/4 turn counterclockwise so the eye loops are perpendicular to the baffle, locking the cable in place.
- Slide baffles across the cable. Spacers can be used on the ends of cables to keep baffles clear of objects, or between baffles to create openings for ductwork or light fixtures.
- Optional: Install a center support hook or eye in the middle of the ceiling to counter cable sag (approx. 21/2″ over 80 feet). Slide baffles from each end of the cable to the center.
.
Recommended hardware for wall-to-wall method (available from building suppliers):
- 3/32″ (7 x 7) uncoated cable and cable clamps
- 3/8″ eye bolt (2 per length of cable)
- 1/8″ rope thimble cable protector (2 per length of cable)
- 3/8″ x 31/2″ turnbuckle (1)
.
Ceiling-mounted installation
- Use 1/16″ cable or lightweight chain to hang baffles from the ceiling. (download the installation instructions below for graphics)
- Attach cable or chain from the ceiling by looping it around ceiling joists or trusses, or installing anchor eyes in the ceiling.
- If installing SONEX® Valueline or WHISPERWAVE Baffles, slip the eye loop of the corkscrew over the cable. Turn the eye loops approximately 1/4 turn counterclockwise so the eye loop is perpendicular to the baffle, locking the cable in place.
- If installing SONEX One Baffles, simply attach the bottom end of the cable or chain to the grommet in the corner of the baffle, either directly or by using “S” hooks.
.