")
NRC Range: 0.90
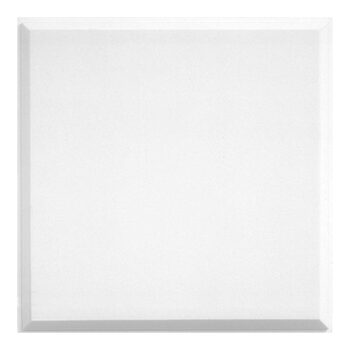
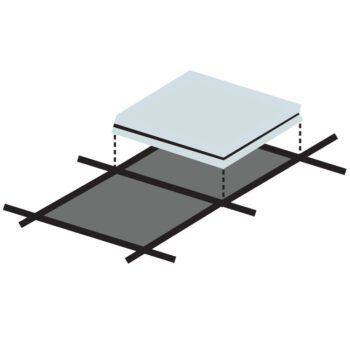
Tile size: 24″ x 24″
HARMONI suspended acoustic ceiling panels are the natural choice when you’re looking to create a unique, contemporary interior space with excellent sound absorption at an economical price.
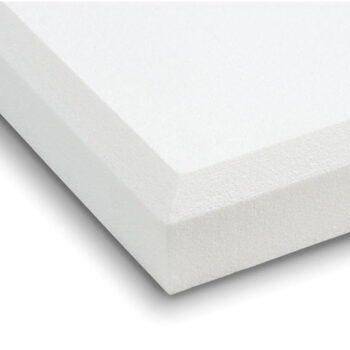
SONEX HARMONI ACOUSTIC Ceiling Tiles are made from lightweight, non-fibrous, open-cell expanded melamine WILLTEC foam and have a 1/2” (13 mm) tegular edge. Smooth-surface HARMONI Vista panels and the lightly sculpted surface pattern of HARMONI Tartan panels are produced to suit typical 15/16” (24 mm) grid system. HARMONI Ceiling Tiles are readily available in a variety of standard water-based acoustic coating color finishes.